 |
Presets do not store masks created by tools other than the Masking Bug. |
Using a Preset
Using a preset is simple, just click on it in the Preset Browser.Saving a Preset
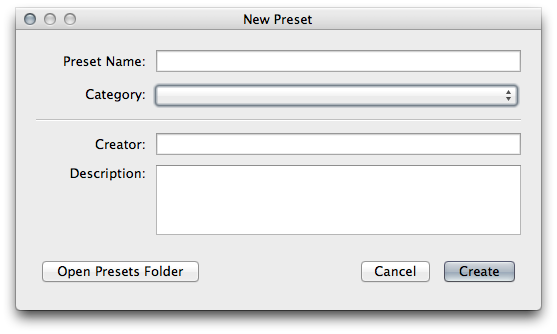
Saving a preset is simple. Once you have your settings that you wish to save, go to the Preset menu and select Save Preset.The New Preset dialog will appear (shown to the right). There are several fields to complete including the preset name, the category, creator and description.
In the category pull-down you can select which existing category the preset should saved into. You can also create a new category this way by selecting new category from the bottom of the list.
| You can edit a preset's name, creator or description by selecting it and then selecting Edit Preset Info from the Preset menu. If you want to edit the settings in a preset, load it into, make your adjustments and then re-save the preset with the same name and location. |
Deleting a Preset
You can remove a preset if you no longer want to have access to it. To remove a preset, follow these steps:- Select the preset you wish to remove in the preset browser.
- Select Delete Preset from the Preset menu.
Importing & Sharing Presets
You can import presets you have downloaded from the onOne website using these steps.- Download the preset pack from the onOne website. It should have a .ONPreset extension.
- Double-click on the preset pack, it will install the presets into a category named the same as the preset pack.
You can share presets like you would share any other file, such as email or posting them to a website. First you need to find the preset files. The easiest way it to open Perfect Photo Suite then from the Preset menu select Show Presets Folder. A window will open and will display the presets folder. In the presets folder are sub-folders for your preset categories. Inside each sub-folder are the individual preset files. You can copy these presets to another computer, attach them to an email or post them on a website.