
| |
The Masking Brush: The Masking Brush functions like a brush tool for masking layers. |
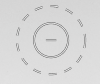
| The Masking Brush is one of two tools in Perfect Effects for masking filters. When you select the Masking Brush, your tool icon changes to a circle that represents the size of the brush. It may also appear as two concentric circles (see below), indicating the inner hard edge and outer soft edge of the brush if the feather control is set above zero. There is also either a plus or minus in the center of the brush. Minus means the brush mode is set to paint-out, plus means it is set to paint-in. |
 |
||||
How to use the Masking Brush To use the Masking Brush, select it in the tool well. Make sure you are on the effect you wish to hide. Then check your brush mode and confirm it is set to Paint-Out. You are ready to mask now, simply paint on the image in the areas you wish to hide. As you brush, you will see the underlying effect(s) appear. If you make a mistake while brushing you have several options to correct them:
|
|||||
The Masking Brush Tool Options Bar |
|||||
 |
|||||
|
|||||
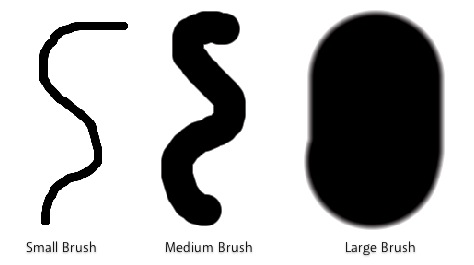
| Brush Size You can control the size of the brush using the Size pop-up in the Tool Options Bar. You use a small brush at high magnification for precise work, and a large brush at fit to screen for general work. To the right, you can see examples of brush strokes at varying sizes. You can control the size of the brush several ways:
|
 |
||||
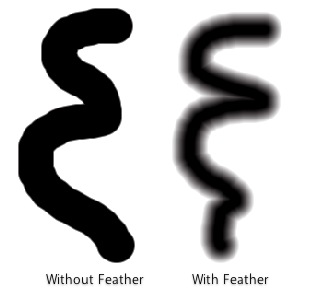
| Feather You control the amount of feathering or hardness of the brush by using the Feather pop-up in the Tool Options Bar. The feather has a range from 1 to 100 percent. You use a small feather at high magnification for precise, hard-edged work and a large, soft-edged brush at fit to screen for general work. You can visually see your feather by watching the outer concentric circle of the brush tool. To the right you can see examples of different feather options. You can control the size of the brush several ways:
|
 |
||||
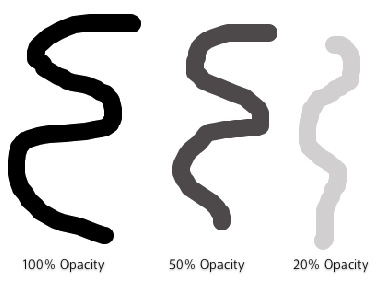
| Opacity You can control the opacity, or strength of the brush with the Opacity pop-up in the Tool Options Bar. Think of the opacity as the shade of gray you are painting with. The opacity has a range from 1 to 100 percent. You use a high opacity to paint quickly and hide large areas. You use a lower opacity for blending areas together or for subtle work. To the right you can see examples of different opacity options. You can control the size of the brush several ways:
|
 |
||||
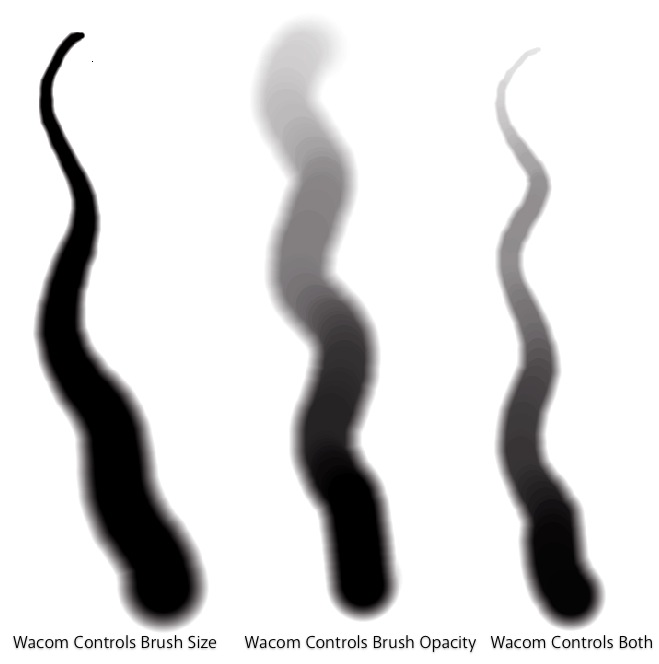
| Wacom® Controls Perfect Layers supports pressure sensitive Wacom tablets. When you use the Masking Brush you can enable pressure sensitive controls for the brush size, brush opacity, or both simultaneously. Click on the W button next to each control in the Tool Options Bar to activate the pressure sensitive controls. The harder you press; the greater the size or opacity will get. You can set the maximum value you want to use the Brush Size and Opacity sliders. To the right you can see examples of how pressure sensitivity can be used to control the Masking Brush. |
 |
||||
| |
|||||
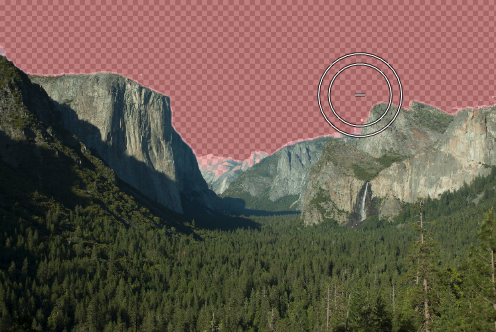
| Perfect Brush The Perfect Brush option enables a unique, color-based, self masking technology. When enabled, as you paint with the Masking Brush it collects the colors under the center of the brush and only masks those colors. This protects the mask from being applied across edges. A great of example of using the Perfect Brush option would be to mask a sky along a horizon of mountains.
|
 |
||||